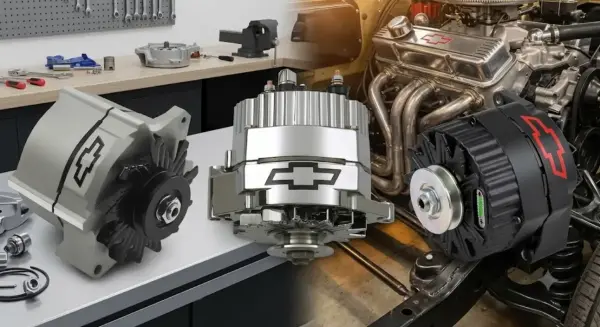

Alternator clocking is one of those details that gets ignored until a builder bolts on a new alternator and realizes the wiring terminals are facing the wrong direction.
On a stock-bracket factory engine bay, the alternator usually drops in without much thought. On a modified build with aftermarket headers, repositioned brackets, or a swapped chassis, the wiring outlet position can be the difference between a clean install and a fight with the engine bay.
Here's what alternator clocking actually is and when it matters for fitment.
Why Alternator Clocking Matters
An alternator has two functional sides. The front housing carries the pulley, the fan, and the mounting ears that bolt to the engine's accessory bracket. The rear housing carries the electrical terminals, the voltage regulator, and the tension adjustment slot.
When the alternator is installed, those electrical terminals have to face a direction that works for the wiring loom. If the terminal outlet ends up pointing at an aftermarket header tube or fouling a chassis brace, you're stuck routing wires in a way that either looks rough, chafes against hot surfaces, or makes future service work harder than it should be.
Clocking changes which direction the rear housing faces. The mounting ears stay in the same place, the pulley alignment stays the same, but the wiring outlet rotates to a position that clears the surrounding hardware.
How the 10SI Case Style Makes Clocking Possible
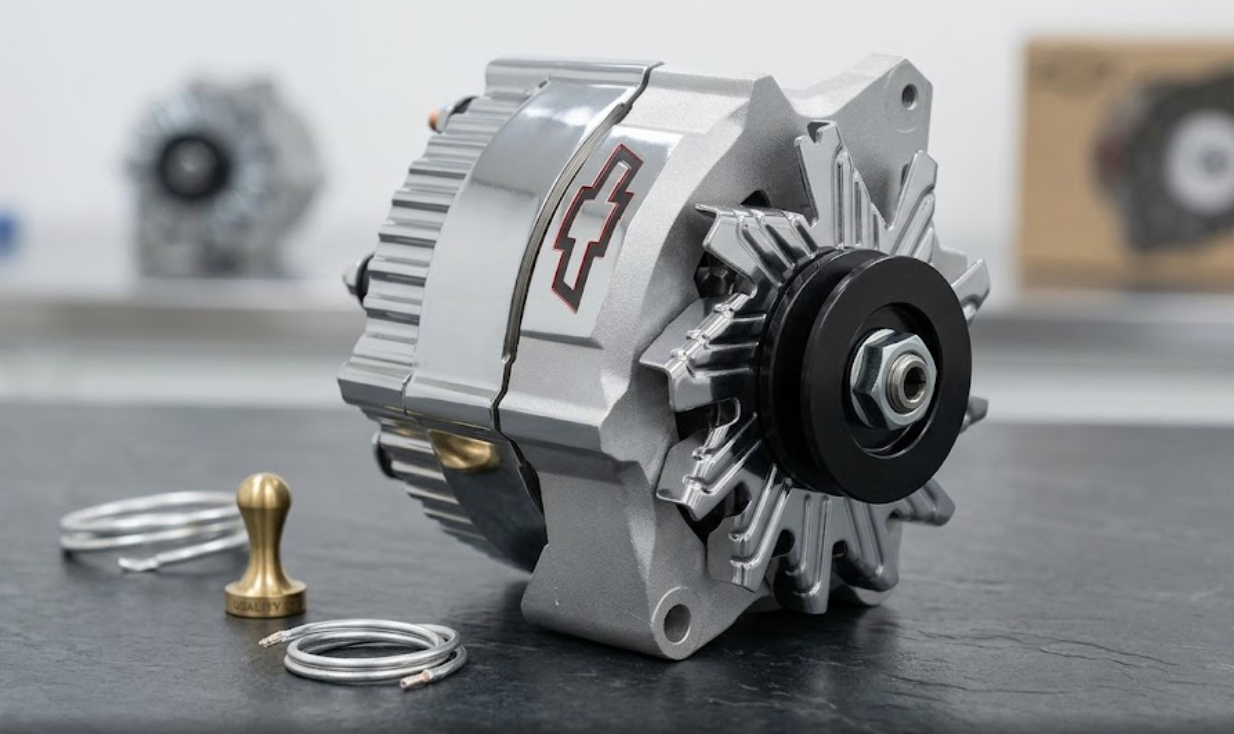
The GM 10SI alternator was designed with this kind of adjustability built in. The front and rear housings are held together by four through-bolts that run the length of the case. Loosening those bolts allows the rear housing to rotate independently of the front housing while keeping the internal components correctly aligned.
Once the housing is set to the position you want, the through-bolts get torqued back down and the alternator is ready to install.
Our chrome 100-amp GM 10SI alternator can be clocked to any of the four standard positions by the user, which is one of the reasons this case style remains the default choice for builders working with Chevrolet small block, big block, Oldsmobile, and Buick engines.
The Four Standard Clock Positions
Clocking positions are usually described like points on a clock face, looking at the alternator from the pulley end. The four positions are 12, 3, 6, and 9 o'clock.
Each position rotates the terminal outlet and adjustment slot 90 degrees from the next. The 12 o'clock position places the terminals at the top, 3 o'clock places them at the side closest to the engine, 6 o'clock places them at the bottom, and 9 o'clock places them on the outside.
There's no single "correct" position. The right one is whichever direction lets your wiring route cleanly without contacting hot surfaces or moving parts, and lets the tensioning bolt face a direction you can actually reach with a wrench.
When Clocking Actually Comes Into Play
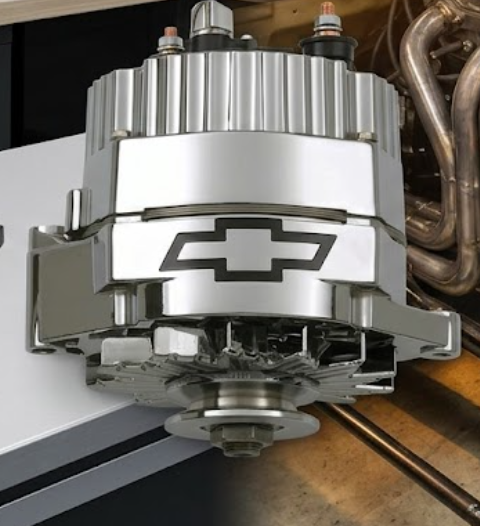
A few situations bring clocking from a nice-to-have to a real necessity.
Aftermarket headers are the most common reason. Long-tube and mid-length headers reroute the primary tubes through space that a factory exhaust manifold never occupied, and that can put a header tube right where the alternator terminals were going to face.
Bracket changes are another. Builders moving from a standard accessory drive to a short water pump setup, an electric water pump, or an A/C delete often end up with the alternator sitting in a slightly different position relative to the rest of the engine bay. The original terminal direction might not work in the new spot.
Engine swaps are a third. An LS or big block swapped into a chassis that was never designed for it usually means working through clearance one accessory at a time, and clocking the alternator into a position that clears the firewall or shock tower is part of that process.
Finally, a clean wire loom benefits from clocking even when nothing is actually fouling. Routing the charge wire and exciter lead in the shortest, cleanest path almost always means setting the alternator to a specific clock position before final install.
Every PROFORM Alternator is 100% New
Every alternator in our lineup is built from 100% new components using specialized manufacturing equipment and dedicated assembly jigs. Then tested at both the component level and as a finished unit. Not remanufactured, not rebuilt cores.
A modified build that needed clocking attention in the first place deserves a charging system built with the same care as the rest of the engine.