
Watch any experienced bracket racer and you'll notice they never look at the tach on a pass. Their eyes are on the track, and the shift happens when the light says so. That consistency is worth real ET, and it's the whole reason shift lights exist.
Here's how to pick your shift point, set the light, and mount it where it actually works.
Why Shifting by Tach Costs You Time
Reading a sweeping tach needle at wide-open throttle means taking your eyes off the track, interpreting a moving needle, and reacting, all while the engine climbs a few hundred RPM per tenth of a second. Do that three times a pass and the shift-to-shift variation alone can smear your consistency, which in bracket racing is the whole game.
A shift light moves the decision from your eyes to your peripheral vision. The light comes on, your hand moves, and every shift lands at the same RPM. That's also protection. A missed shift or a moment of tach-squinting past the engine's safe ceiling is how valvetrains get floated and rotating assemblies get hurt.
Finding Your Shift Point
The instinct is to shift at redline. The math usually says otherwise.
The fastest shift point is the RPM where the engine makes more power in the next gear than it would by continuing to pull in the current one. When you shift, the RPM drops by an amount determined by the spacing between gears. The goal is landing that drop back into the strongest part of the power curve. If your engine peaks at 5,800 and falls on its face at 6,400, buzzing it to 6,800 before shifting means spending time past peak making less power, then landing lower in the next gear than you needed to.
If you have a dyno sheet, compare the power at your proposed shift RPM against the power at the RPM the next gear puts you at. Shift where the crossover happens. If you don't have a dyno sheet, the time slip is your dyno. Pick a starting shift point a few hundred RPM past your power peak, make passes, move the shift point in 200 RPM steps, and let the ETs tell you where the combination is happiest.
One non-negotiable first step, straight from our own product documentation: confirm your engine's recommended safe shift point with the engine manufacturer or builder before setting the light. The light exists to prevent over-revving, not to enable it.
Setting a PROFORM Digital Shift Light
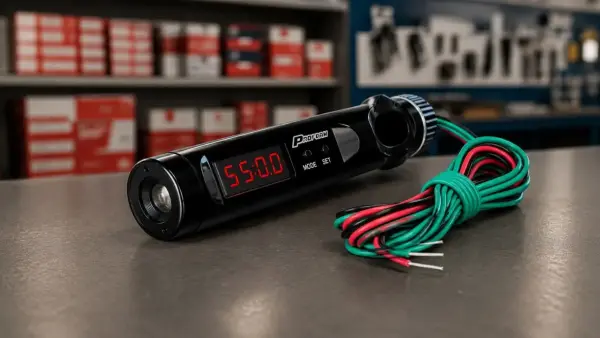
Our Digital Mini RPM Shift Light (Part #67007C) is a stand-alone unit with a 100 to 12,000 RPM range in 100 RPM increments, covering 1 through 12 cylinder engines. Setup runs through two buttons.
Press Mode until the display reads CY, then press Set until your cylinder count shows, and press Mode to lock it in. Press Mode again until the display reads A, then press Set to enter your shift point in hundreds of RPM, so 52 equals 5,200 RPM, and press Mode to confirm. Brightness adjusts the same way through the I menu across eight levels, and the RPM display can be set to stay on or shut off during use.
Once configured, three amber LEDs light when you cross the shift point and stay lit until RPM falls back below it. The whole unit is 4 inches long and an inch tall with a detachable mount, and here's the bonus that makes it more than a shift light: detach it from the mount and it works as a diagnostic tachometer for tuning in the garage, so you can watch RPM right at the engine instead of yelling to somebody in the driver's seat. The wireless version (Part #67006C) takes that portability further, letting you hold the display in your hand while working under the hood.
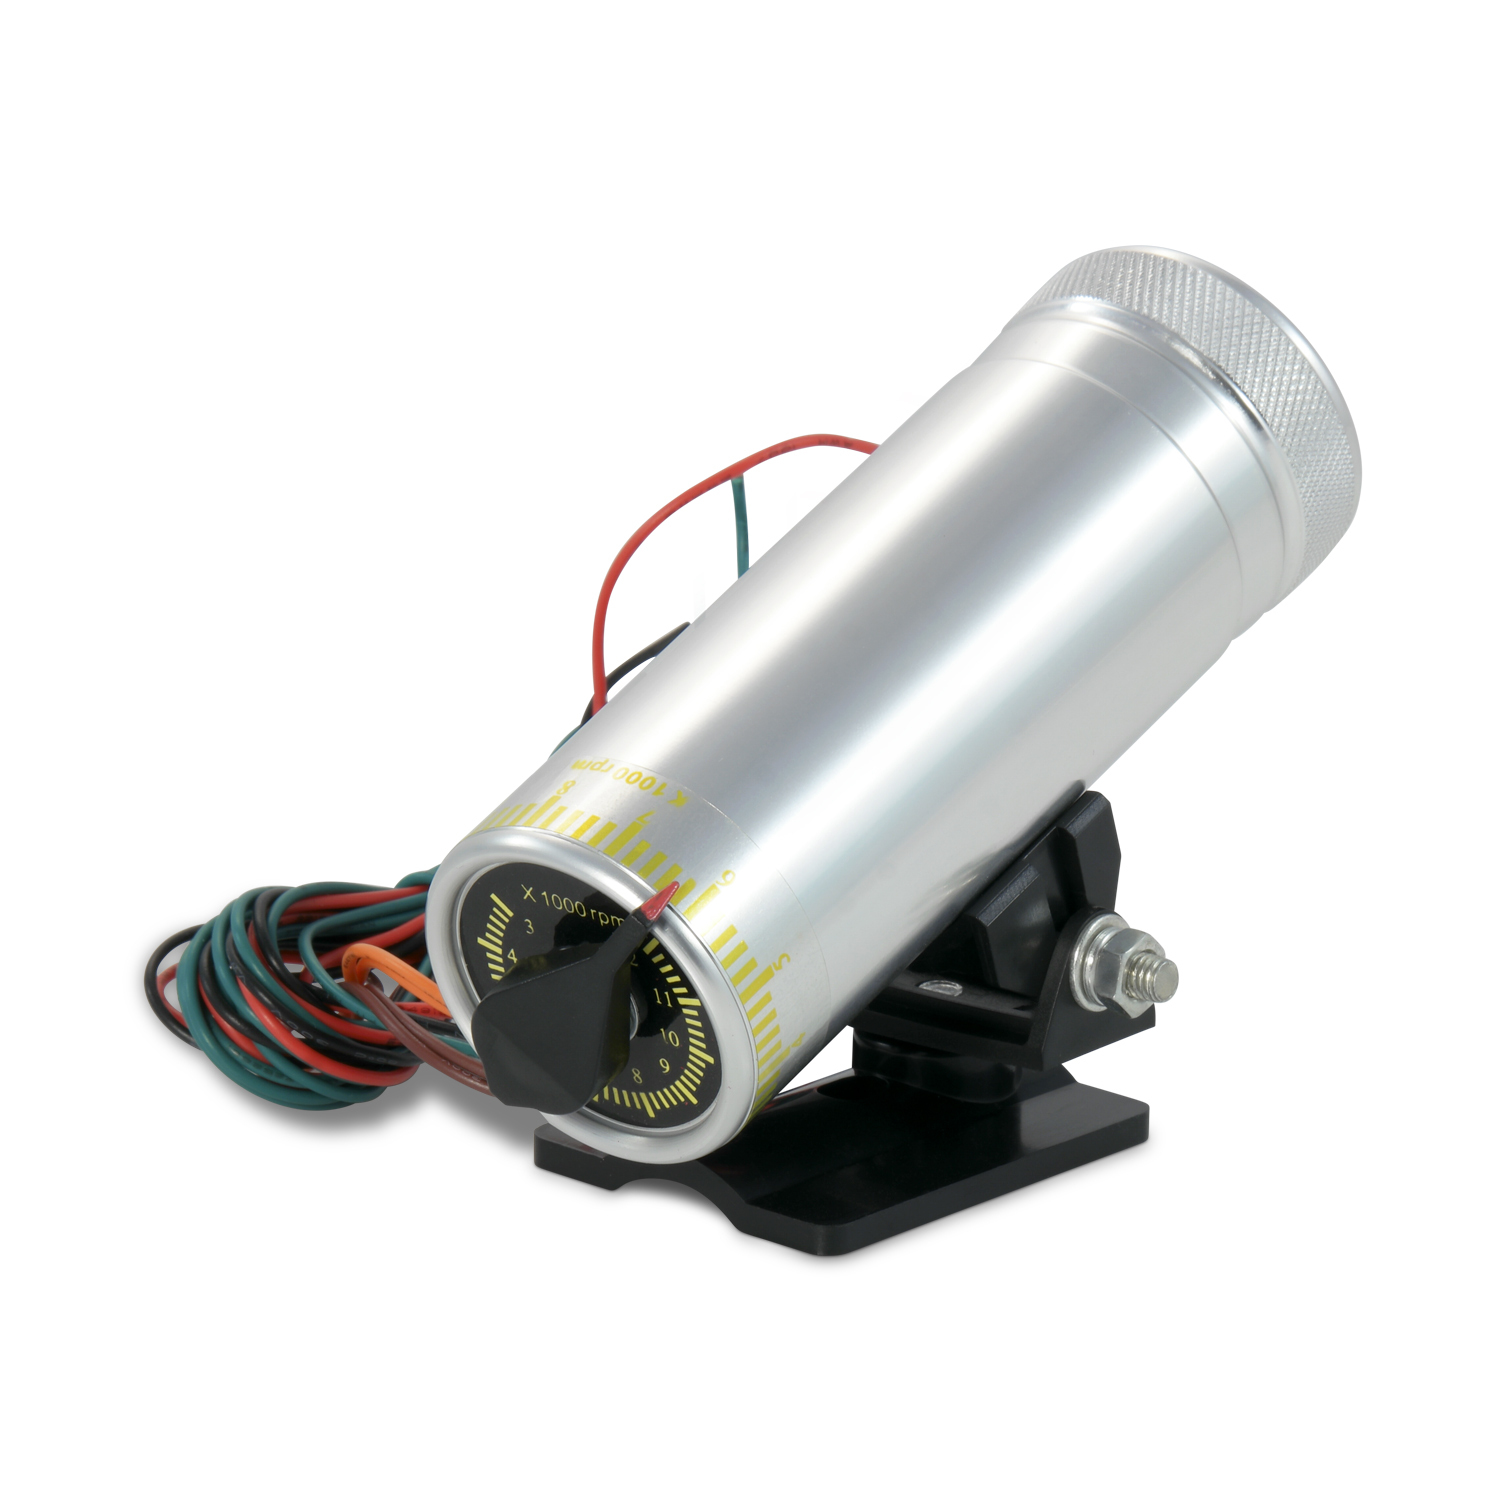 If you prefer dead-simple analog, our adjustable knob shift lights (Part
 #67005C in black, #67005SC in silver) set the shift point with a twist of a knob, no menus at all. They cover 3,000 to 12,000 RPM in 200 RPM increments for 4, 6, and 8 cylinder engines, with a high-visibility yellow light cover. No chips, no external modules, completely stand-alone.
Wiring and Mounting
The digital units use a simple 3-wire hookup. Red to a 12-volt switched ignition source, black to a good engine ground, and green to the tach signal. On a standard ignition the green wire attaches to coil negative, and on electronic ignitions like GM HEI it connects to the tach terminal. One warning worth repeating verbatim from our instructions: on capacitive discharge ignition boxes, attach only to the tach terminal, never the coil, or you'll void the warranty and likely damage the unit. Most late-model applications without a distributor will need a tach adapter, noted on each product page.
Mount the light so the lit end sits in your forward line of sight without blocking the track. Top of the dash, on the column, or on the cage near your sightline all work. The point of the light is that you never look at it directly. It fires in your peripheral vision while your eyes stay where they belong.
Train the Reaction Too
The shift light handles the mid-track consistency. The other place races are won is the launch, and reaction time is a skill you can practice anywhere with our Perfect Launch® Handheld Practice Tree (Part #67025C). It's a shirt-pocket sized Christmas tree with a remote thumb trigger, .4 and .5-second Pro and Full trees, plus an adjustable delay box, bump down, and rollout. Between the light handling your shifts and the practice tree sharpening your launches, the two most repeatable skills in drag racing both get trained.